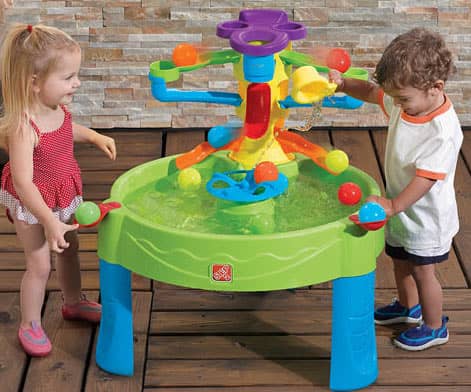
Getting your child outdoors has become one of the important need. Only then, they will be able to come close to nature and understand different life principles. Outdoor Water Table has been doing pretty well these days, and has become a favourite play-time in many homes. Read the complete DIY on how to make this table with all your basic home tools.
DIY Outdoor Water Table with Pump for Kids
Water Table is one of the fun outdoor games preferred by all the kids who love playing with water. It is mainly played by the toddler babies, and built with soft materials keeping the safety in check. Surprisingly, you can build one such table at your home if you have got all the tools at hand.

These days, water tables come at a high cost; with some guidance and basic tools you can make one at your home! We will list out the tools required for this task and then get into the steps.
Step 1: Get the Tools Ready!
Following are the tools needed for constructing an Outdoor Water Table-
- Polyethylene Water Pipe made from plastic (3/4″ x 5′)
- One insert plug (3/4″)
- Elbow Insert (3/4″ 90D)
- Statuary Pump (with 330 gph)
- Tee Insert (3/4″)
- Vinyl Tube (3/4″)
- One storage bin made of plastic with the lid on it
- Hand Saw
- Power Drill
- Drill bit of different sizes
- Knife
This is the number one step, as only with the right tools you could get the job done in the perfect manner. After you are set with this, we will get into the making of Water Table.
Step 2: The Drainage holes and some Plumbing work
Get the lid of the storage bin, and start making holes on it. 4 to 5 medium-sized holes will do the job. This is necessary, as we don’t want the water to pool on the top of the storage bin. With these holes, all the water coming from the fountain will get back into the storage bin via these holes.
Next comes the plumbing assembly, cut about 2 inches length of the black pipe using the hand saw. Get the three tee inserts and four 90D elbow inserts connecting to get the plumbing structure.
Step 3: Drilling for the Fountain mechanism. Then work on the Fountain components.
Now you have to place the plumbing structure created in the previous step on the lid portion of the storage bin. Mark the points again on the storage bin, and increase the diameter of the holes made. The holes must be a bit large than the black pipe’s diameter.
Get hold of the remaining black pipes, and separate them into six different pieces. Among the six pieces, 4 of them gets the insert plug, and the other 2 gets the 90D elbow inserts. You will end up with four vertically designed fountain pipes.
Step 4: The Power Cord setting, followed by the Pump Placement
Drill one hole on the side of the bin, just below the rim location so that the pump’s cord could easily pass through this opening. Then make a vertical cut through this hole to the top of the rim.

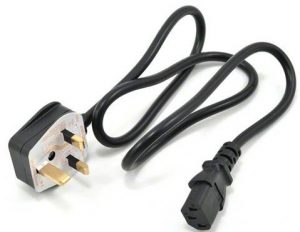
Get the pump set, with the power cord on it. Let the power cord pass through the hole created on the storage bin, and then place the pump on the bottom portion of the storage bin. With the help of vinyl tubing, set the plumbing assembly (created in step 1) on the top of the pump setup.
Step 5: Some more Assembling process, and making holes in the Pipes.
Remember six fountain pipes created in the 3rd step; you need to set them up in a way that it passes through the holes of the storage bin. Let the fountain pipes to pass through the holes, and then connect them to the plumbing assembly placed on the bottom side. Place the lid slowly, and make all the adjustment required. Just ensure that these fountain constructs are in a vertical position.
We are almost done, you need to drill some holes in the plug inserts. The trick here is to make small holes. If the holes get large, then there are chances that you may lose the quality amount of water pressure. Take it slow, keep the number and the size of the holes – both less.
Step 6: DIY is Complete. Time for the testing & Quality Check!
Fill the top of the storage bin with a considerable amount of water. You can directly pour water into it, or fill the water with the help of the hose connections. Check the plumb setup, and examine the water pressure available. If the pressure is too high for the need, then unplug the pump and increase the size of the hole.
Keep the process on, and continue with the pressure test till you get the right one.
Was this post helpful and informative for you? Comment on your answers below. Follow us on WaterGadget for awesome updates!