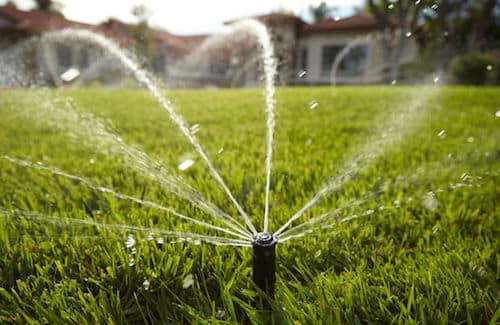
Planning to Install Water Sprinkler setup at your place? It is one of the widely accepted ways of watering lawn these days, for the ease of use and convenience it provides. You can save about 40% of the installation cost by trying your hands on the sprinkler system.
We won’t say that installation is a complete DIY! It is a bit difficult but not an impossible one. We aim to offer you the installation steps in the simplest way. Even a beginner can try the hands on this, and get the setup done by themselves. Still, we will suggest having a helping hand for this installation.
How to Install Water Sprinkler System
The only main work remains the installation, then just set the time and let the system work for you. So once the setup is finished, you can use this Sprinkler system in the way you like.

It could take a maximum of 3 days for the installation to complete. Starting with the setup, we will first of all list the tools required for the job. You will need a timer, vibratory plow, shovel, and a poly pipe cutter. Other additional materials required are sprinkler heads, PVC heads, PVC valves, pipes. That’s it! You are pretty to go now!
Steps on How to Install Water Sprinkler System are as follows:
- First, you need to study your lawn space and know everything about all the locations of the buried cables. Get in contact with the utility team, and mark all the sites. Next, note the dimensions of the yard, and also measure the water pressure and the coverage of the sprinkler. You need to check that no space is left out from sprinkling.
- It is better to connect the sprinkler system to an existing water valve. You can connect it to the main water supply, either way, you will need to set one anti-siphon valve. This keeps all the chemicals from entering the water supply. Keeps your garden free of pesticides and another harmful element.
- The third step is to dig a trench. It should be at an angle of 45 degrees, and about 6 to 8 inches deep. You can rent one vibratory plow for getting this digging job done more quickly.
- Next process is to install the valve manifold. For this, dig a hole which is slightly larger than the valve manifold box. Now slowly place the box on the ground, and then connect one end of it with the main water supply. Finally, make the connection more firm by tightening the clamps.
- Join the PVC pipe with one of the open ends of the valve manifold. Keep on laying the pipe along the trench. While you are sticking different components together, make use of a thin layer of adhesive for this purpose.
- Now, it’s time for the sprinkler heads! Choose the right kind of sprinkler as per the need and the watering you want to adopt. Also, before connecting the sprinkler head, clean out all the debris if any present with water. Here the sprinkler head should be level with the soil height.
- The central controller of the sprinkler comes into the picture here. This is the main component which decides the watering frequency and the duration. Get all the wires connected as per the instructions provided with the main product manual. Connect the controller to the main water supply line.
Voila! That’s how you get the Water Sprinkler system installed at your home. Try running the controller to check if it is working in the same manner, as it should. If everything seems perfect, then you are all set!
If you are facing any issue with any installation step, then comment on your query below. We will get to you as soon as possible and get the problem solved! Share it with your friends and family, as it would be helpful to someone. For regular updates from us, follow us on WaterGadget!