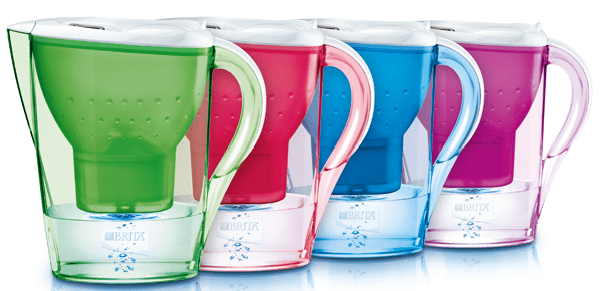
We will provide some information on how to handle the Brita Water Pitcher rightly. Filtering the water is one of the best options to maintain good health. So now hopefully set with a filter pitcher at your place, and you want to know how to rightly use the system.
If you have installed this filter pitcher for the tap water, then it will do wonders for you.
Talking about the tap water, they contain many deadly contaminants like zinc, copper, calcium carbonate, and many others.
Water which comes to your house can be through various sources. When water passes through the source to the plumbing material, it enters the faucet system, and after that comes the installation part for the Brita Water Pitcher.

How to Use a Brita Water Pitcher
So, the Brita unit is all set, and now you will find a reduction in the water contaminants in the home water supply.
Let’s get started with the Brita Water Pitcher!
The process is explained as follows:
- Before getting started, make sure that you have rightly washed your hands using soapy water. So the first step will be, to wash your hands properly, this will help with preventing any further contamination of the water supply.
- So after washing your hands, you are now set to unwrap the Brita Filter Pitcher system. Now, you have to soak the filter in water. The filter should be completely immersed in the water, and keep it for about 15 minutes.
- You can utilize the time spent in the soaking process, for cleaning out the pitcher. Wash the pitcher system using warm soapy water. Then finally rinse it rightly. For those, who have got water cooler at their place, they can clean the water by wiping down using a cloth until the 15 minutes passes.
- Now the 15 minutes is complete, take the filter out of the water. Then place the filter into the pitcher or the cooler unit. You may be required to perform some twisting action on the filter to set them within the units rightly.
- The tip for setting the filter right is that there should be no space between the filter and the base portion of the pitcher system.
- Next step is to add water. So add cold water to the Brita Filter Pitcher or the cooler unit. You have to perform the fill operation till the capacity of the product, not more not less. Till the right recommended level. This is mentioned to provide the efficiency as well as fulfilling user needs.
- Wait for some time, till the filtration process finishes in the unit. During this waiting time, you can quickly perform the wiping process if any spills found on the floor or the unit part.
There you go, here completes the task of getting started with the Brita Filter Pitcher.
You can find out other Water Filter Pitcher Reviews on our page.
Hope you all got an insight regarding How to Use a Brita Water Pitcher, and it helped you with learning to get started with the system. If you have got any suggestion/query related to the content, then feel free to share them with us by simply commenting below. Click here to check other exciting post updates from us